Utility Mesh Scrub Mitts
Project Information
by Carol R. Zentgraf Design & Editorial Services
Size
8" x 10"
Materials
- 8" x 10" rectangle of James Thompson Utility Mesh
- 1/3 yard of terrycloth
- 1/2 yard of double-fold bias tape
- Machine embroidery designs of choice: flowers and alphabet
- Clear, water-soluble stabilizer
- Rayon machine embroidery thread
- All-purpose thread to match fabric
- Basic sewing supplies and tools, including sewing machine with embroidery capabilities
- Tracing paper
Instructions
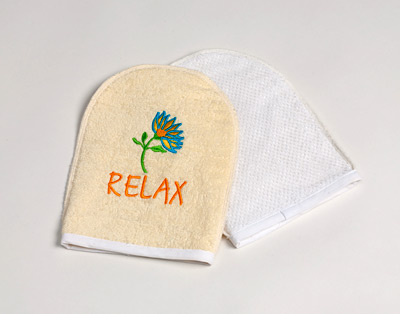
- Cut a 12" square from the terrycloth and two 12" squares from the water-soluble stabilizer. With the terrycloth sandwiched between the stabilizer layers, place the three layers in the machine embroidery hoop. Embroider a flower design with the word "SPA" or "RELAX" centered beneath the flower.
- Trace the mitt pattern. Use it to cut one shape from the embroidered terrycloth, centering the design on the mitt. Use the pattern to cut two more shapes from the terrycloth and one shape from the utility mesh.
- With wrong sides together and edges even, baste the embroidered mitt piece to a plain terrycloth mitt piece to make the mitt top. Repeat to baste the remaining terrycloth mitt piece to the utility mesh mitt piece to make the mitt bottom. Pin the mitt top and bottom together with the embroidered and mesh sides out. Serge the edges together, leaving the straight edge open, or sew the edges together with zigzag stitches.
- Wrap bias tape around the open bottom edge and topsititch in place.
For diagrams and patterns please download the PDF instructions.
PLEASE NOTE: We try to accurately represent the product colors on our
website, but internet colors may differ from actual fabric color. Please
request a sample to check actual color!